
Judy’s magic cast on was created by Judy Becker as a perfect way to knit a toe-up sock, the cast on is invisible and seamless, making it the perfect starting point for socks. It’s also handy for other applications, such as the Radvent Wrap, which is knit from the centre out, worked in the round, with regular shaping to result in a flat wrap. Follow the instructions below to cast on your Radvent Wrap.
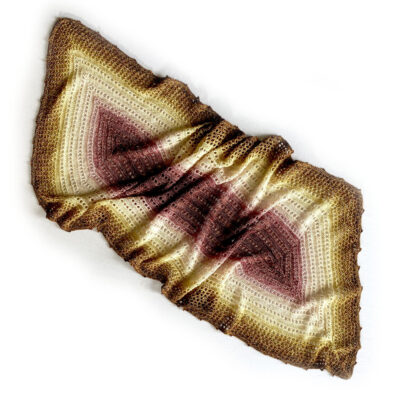
Radvent Wrap, the project is cast on in the centre with the darkest rose colour, then worked to the gold edge.
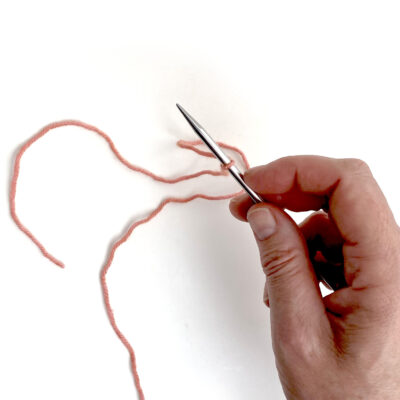
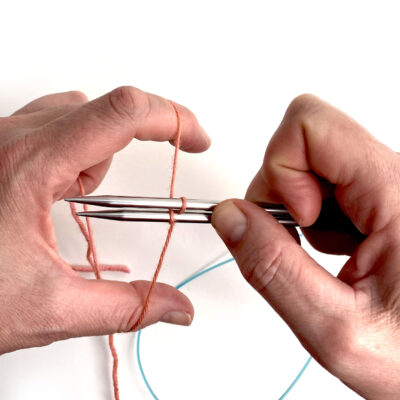
Step 1: Start with a slip knot as you will be casting on a large number of stitches with both the working yarn and the tail. Be sure to allow a long tail for this cast on.
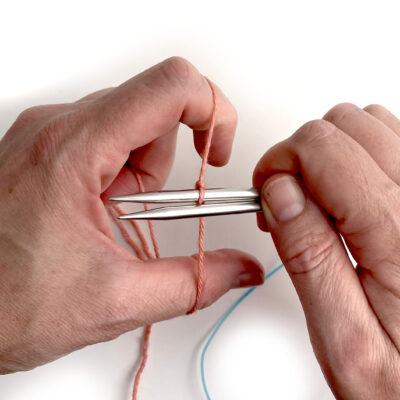
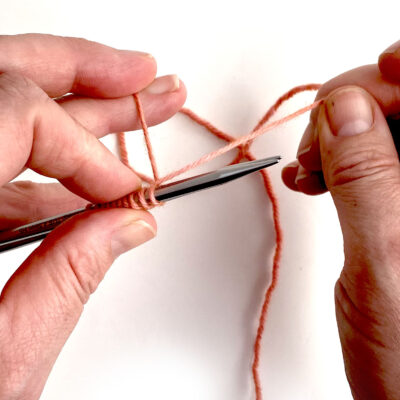
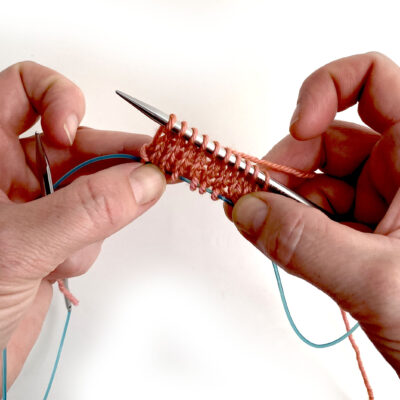
Step 2: Hold the tail with your index finger and the working yarn with your thumb. Your other hand will hold the needles parallel.
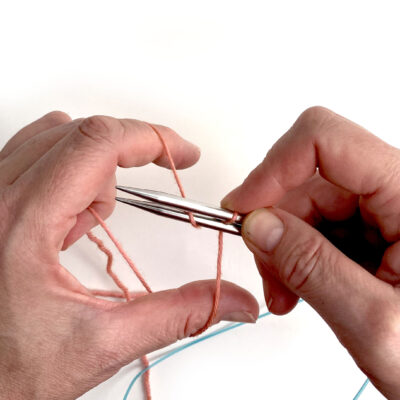
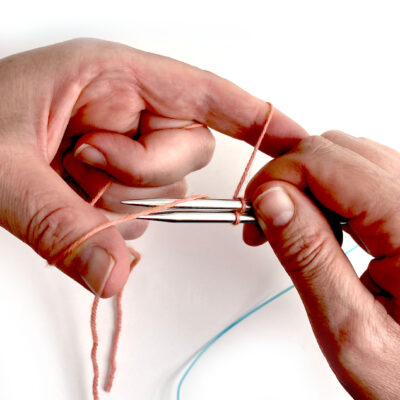
Step 3: Bring the tip of the bottom needle over the strand of yarn on your finger,
then around and under the yarn and back up, making a loop around the bottom needle.
You will use your right hand to move the needles, similar to a long-tail cast on. This may feel awkward at first, but you'll quickly get the hang of it.
Gently pull the loop snug, but not tight, around the needle.
You have cast 1 stitch onto the bottom needle.
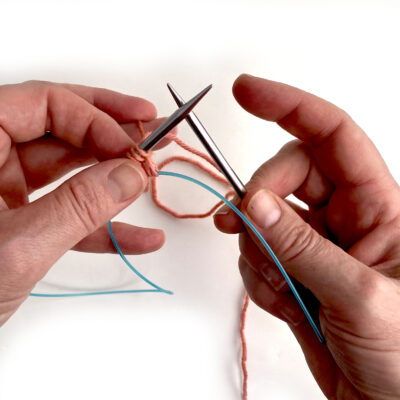
Step 4: Bring the top needle over the yarn on your thumb,
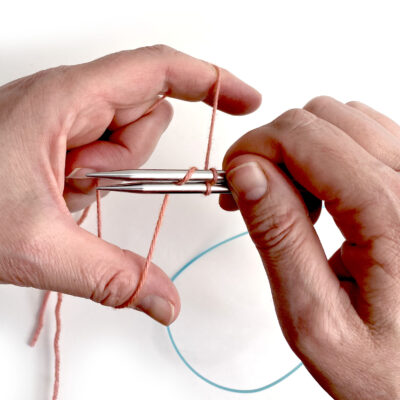
around and under the yarn and back up, making a loop around the top needle. Pull the loop snug around the needle.
You have cast a stitch onto the top needle.
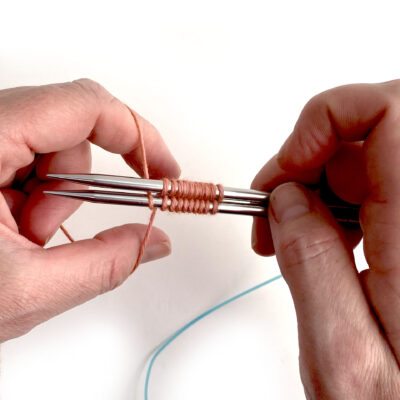
Continue until you have cast on the required number of stitches for each needle, counting the slip knot as one stitch.
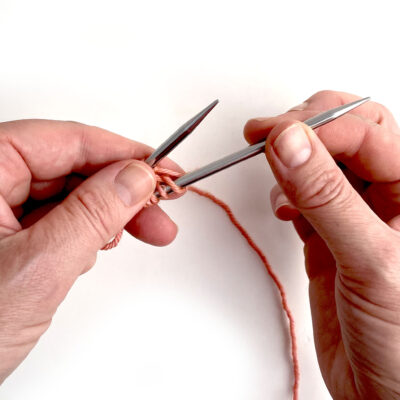
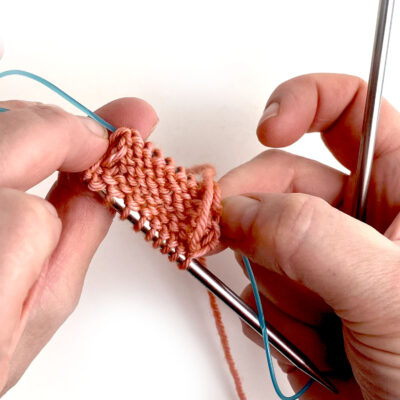
Turn the needles so that the bottom needle is now on top.
Drop the yarn tail and bring the working yarn over it to keep the loop secure, hold the yarn and top needle as you
pull out the bottom needle ready to knit across the top stitches.

Knit across the stitches on the top needle.
When you get to the end, turn your work so the bottom needle is now on top. Pull out the bottom needle to work across the top stitches.
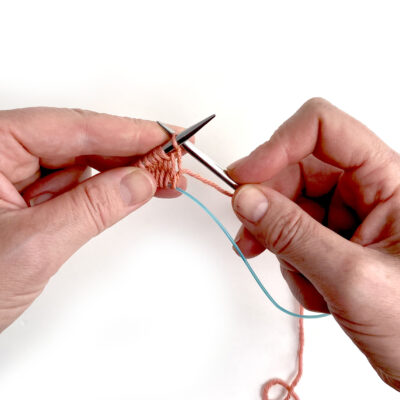
Knitting the slip knot first. Work the rest of the stitches through the back of the loop to prevent them from being twisted
Once you get to the end of this round, continue to work in the round. You'll always have the smooth side of the work facing you.
Continue as instructed in the pattern.
This side, with the purl ridges is the wrong side.