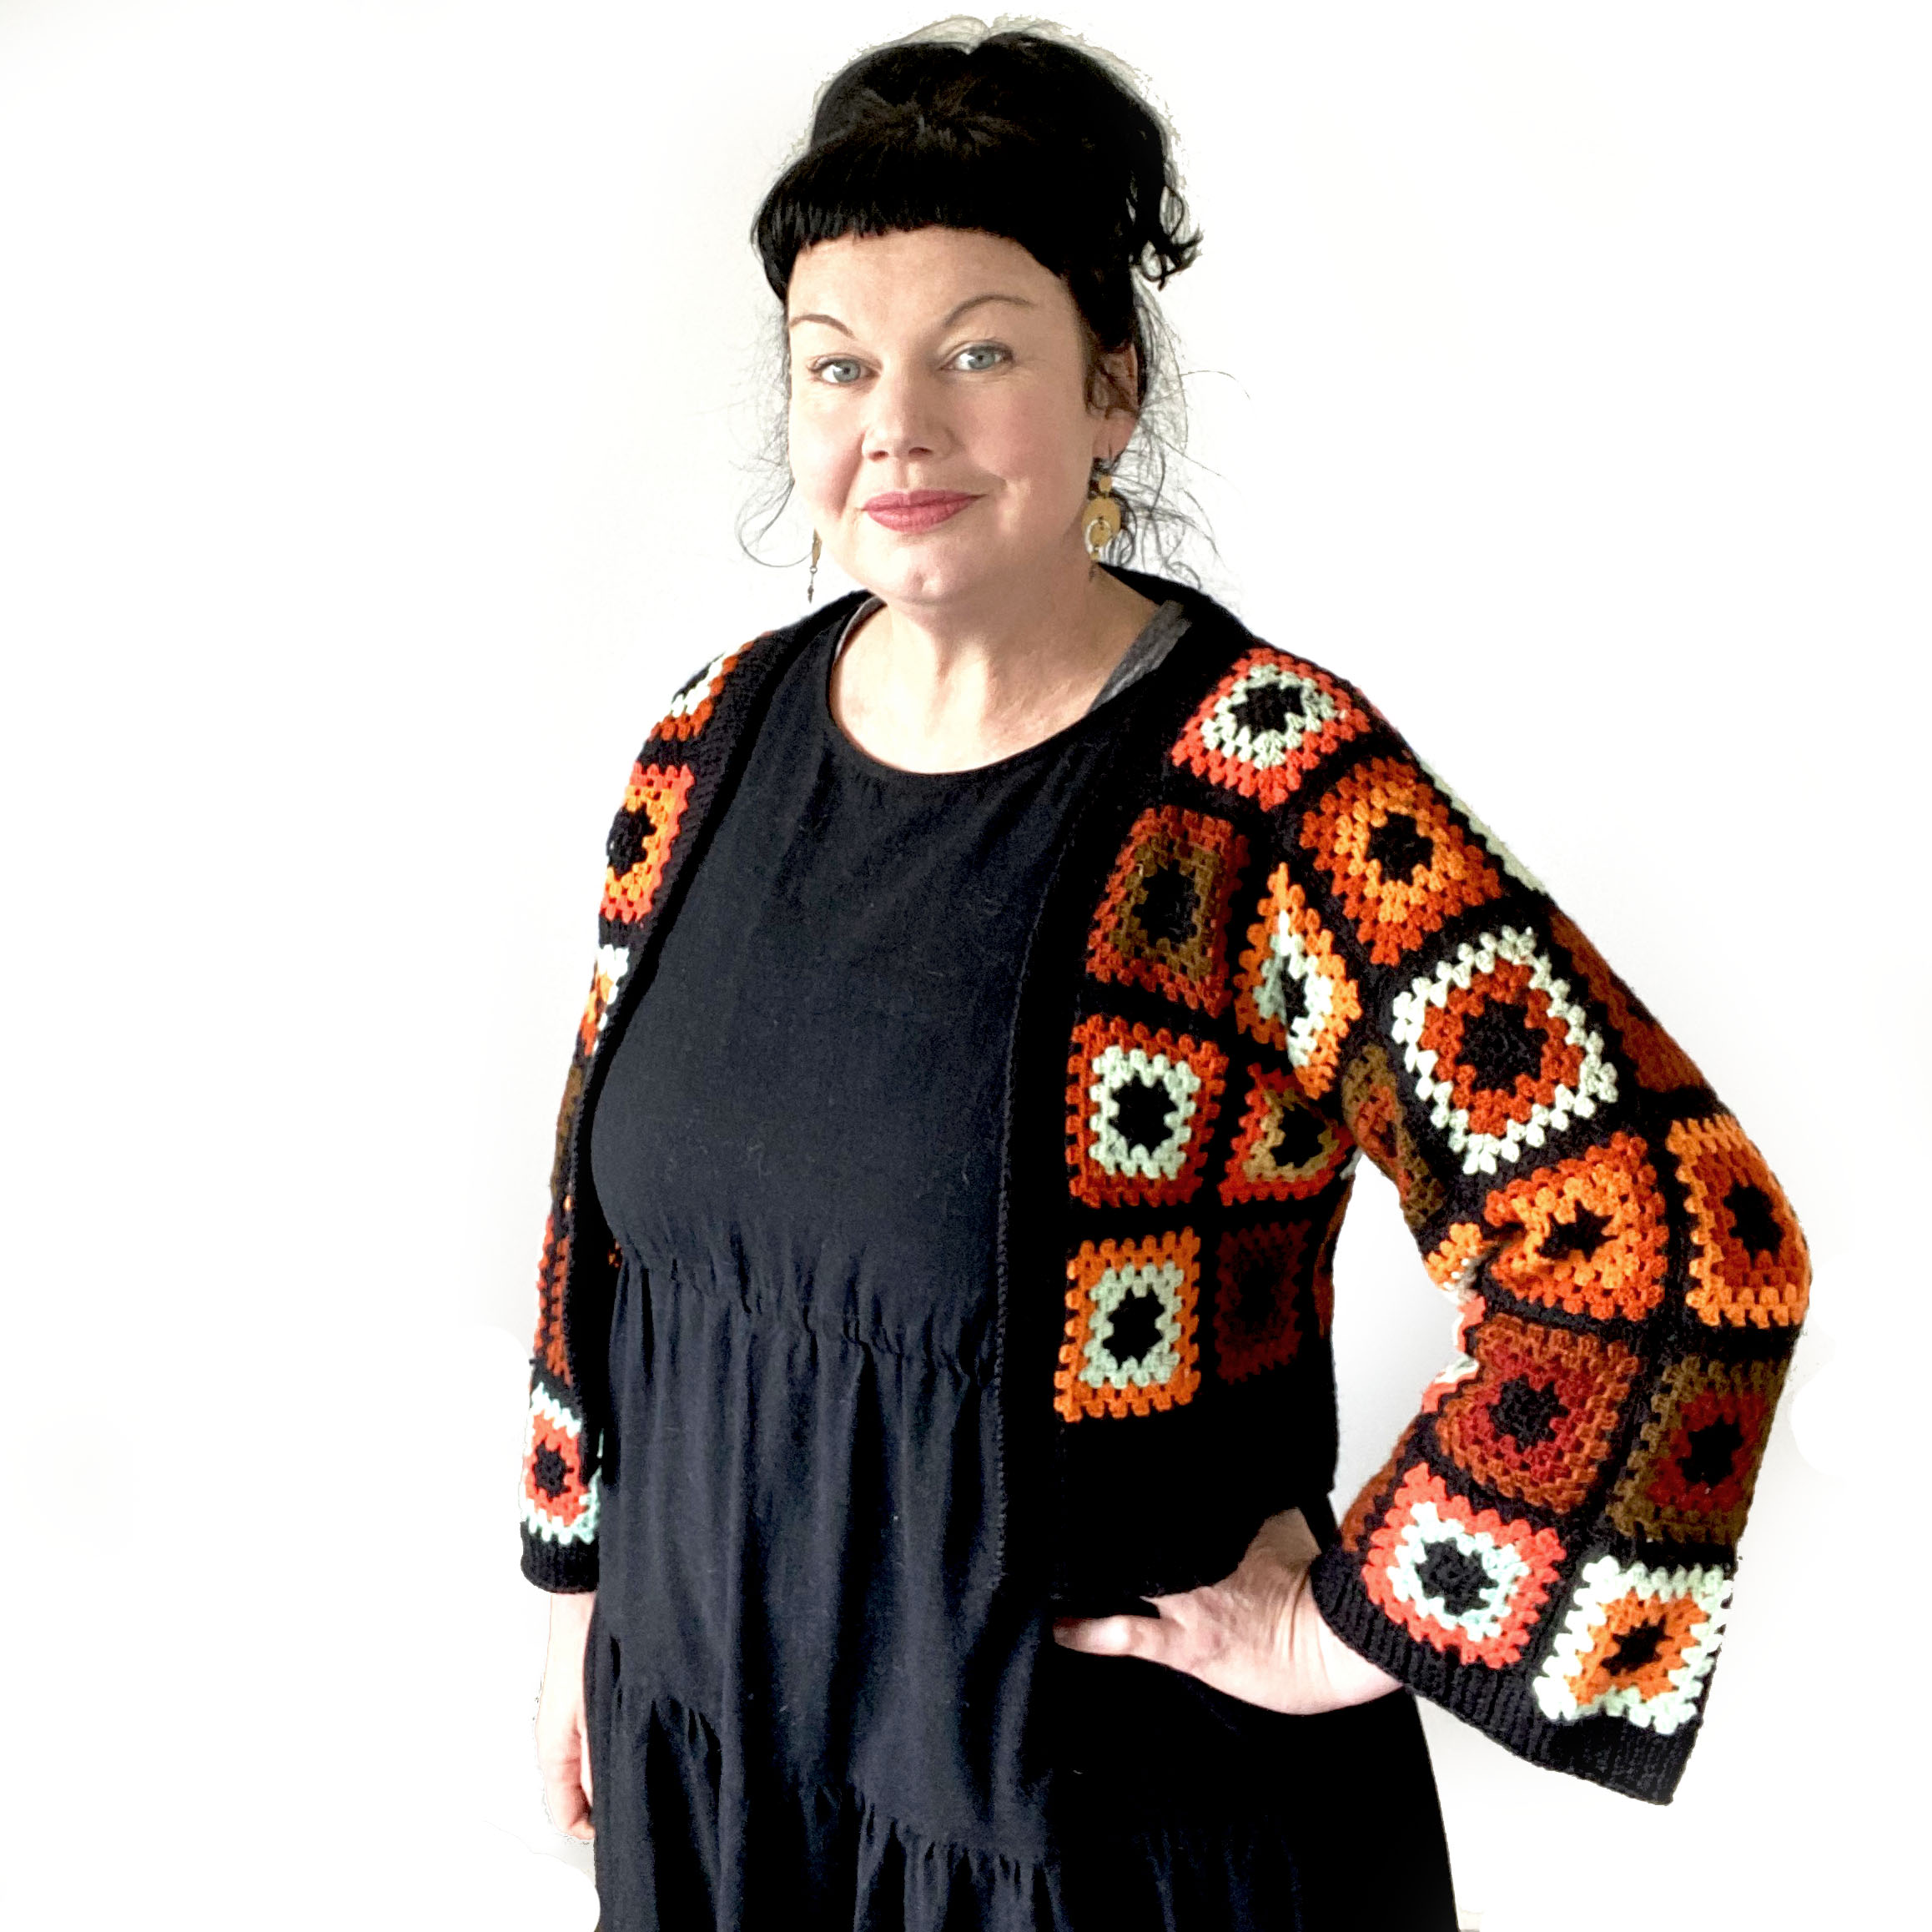
I made a crochet Jacket, and I don’t know how to crochet!
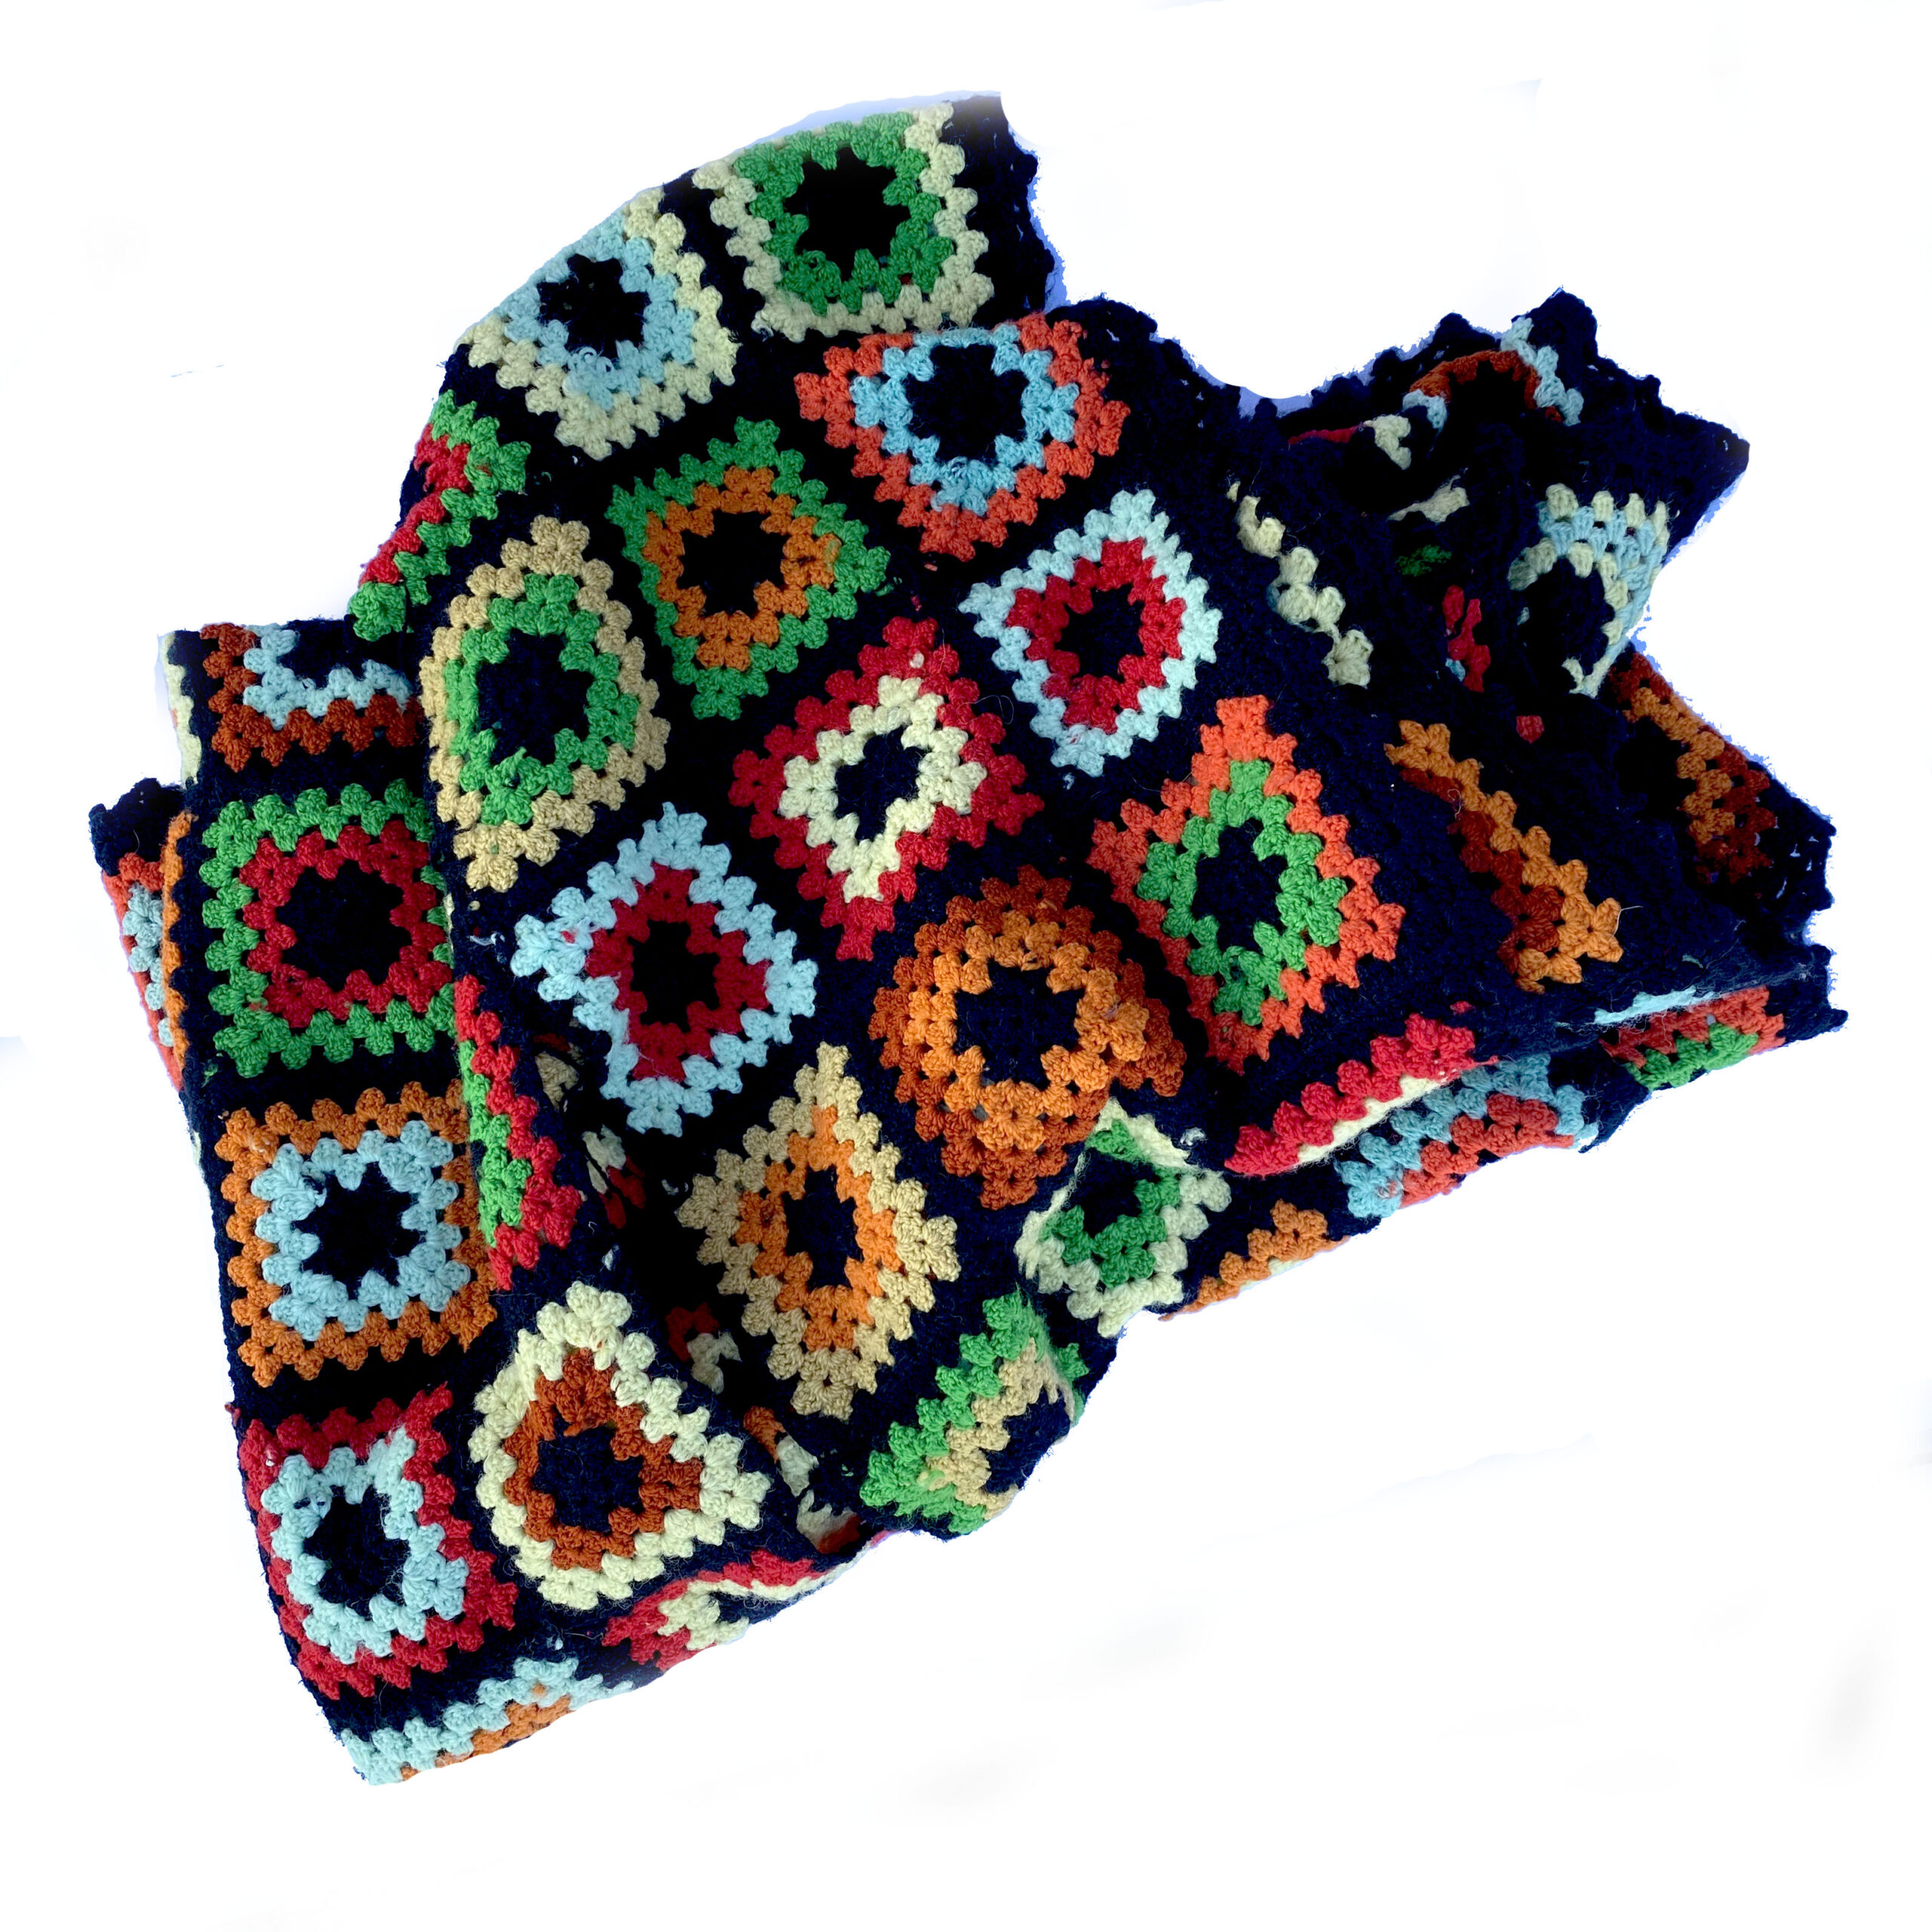
Well, I can work a chain stitch. Around six months ago, in Australia’s Autumn, I noticed lots of crochet garments popping up on Instagram. I often wish I was a better crochet-er but keep focussing on knitting so I never improve, that said inspiration struck. I had a thrifted crochet throw that I loved but didn’t adore all the colours in it, my plan had been to overdye it. It occured to me that I could use this to create my very own crochet garment and so I did.
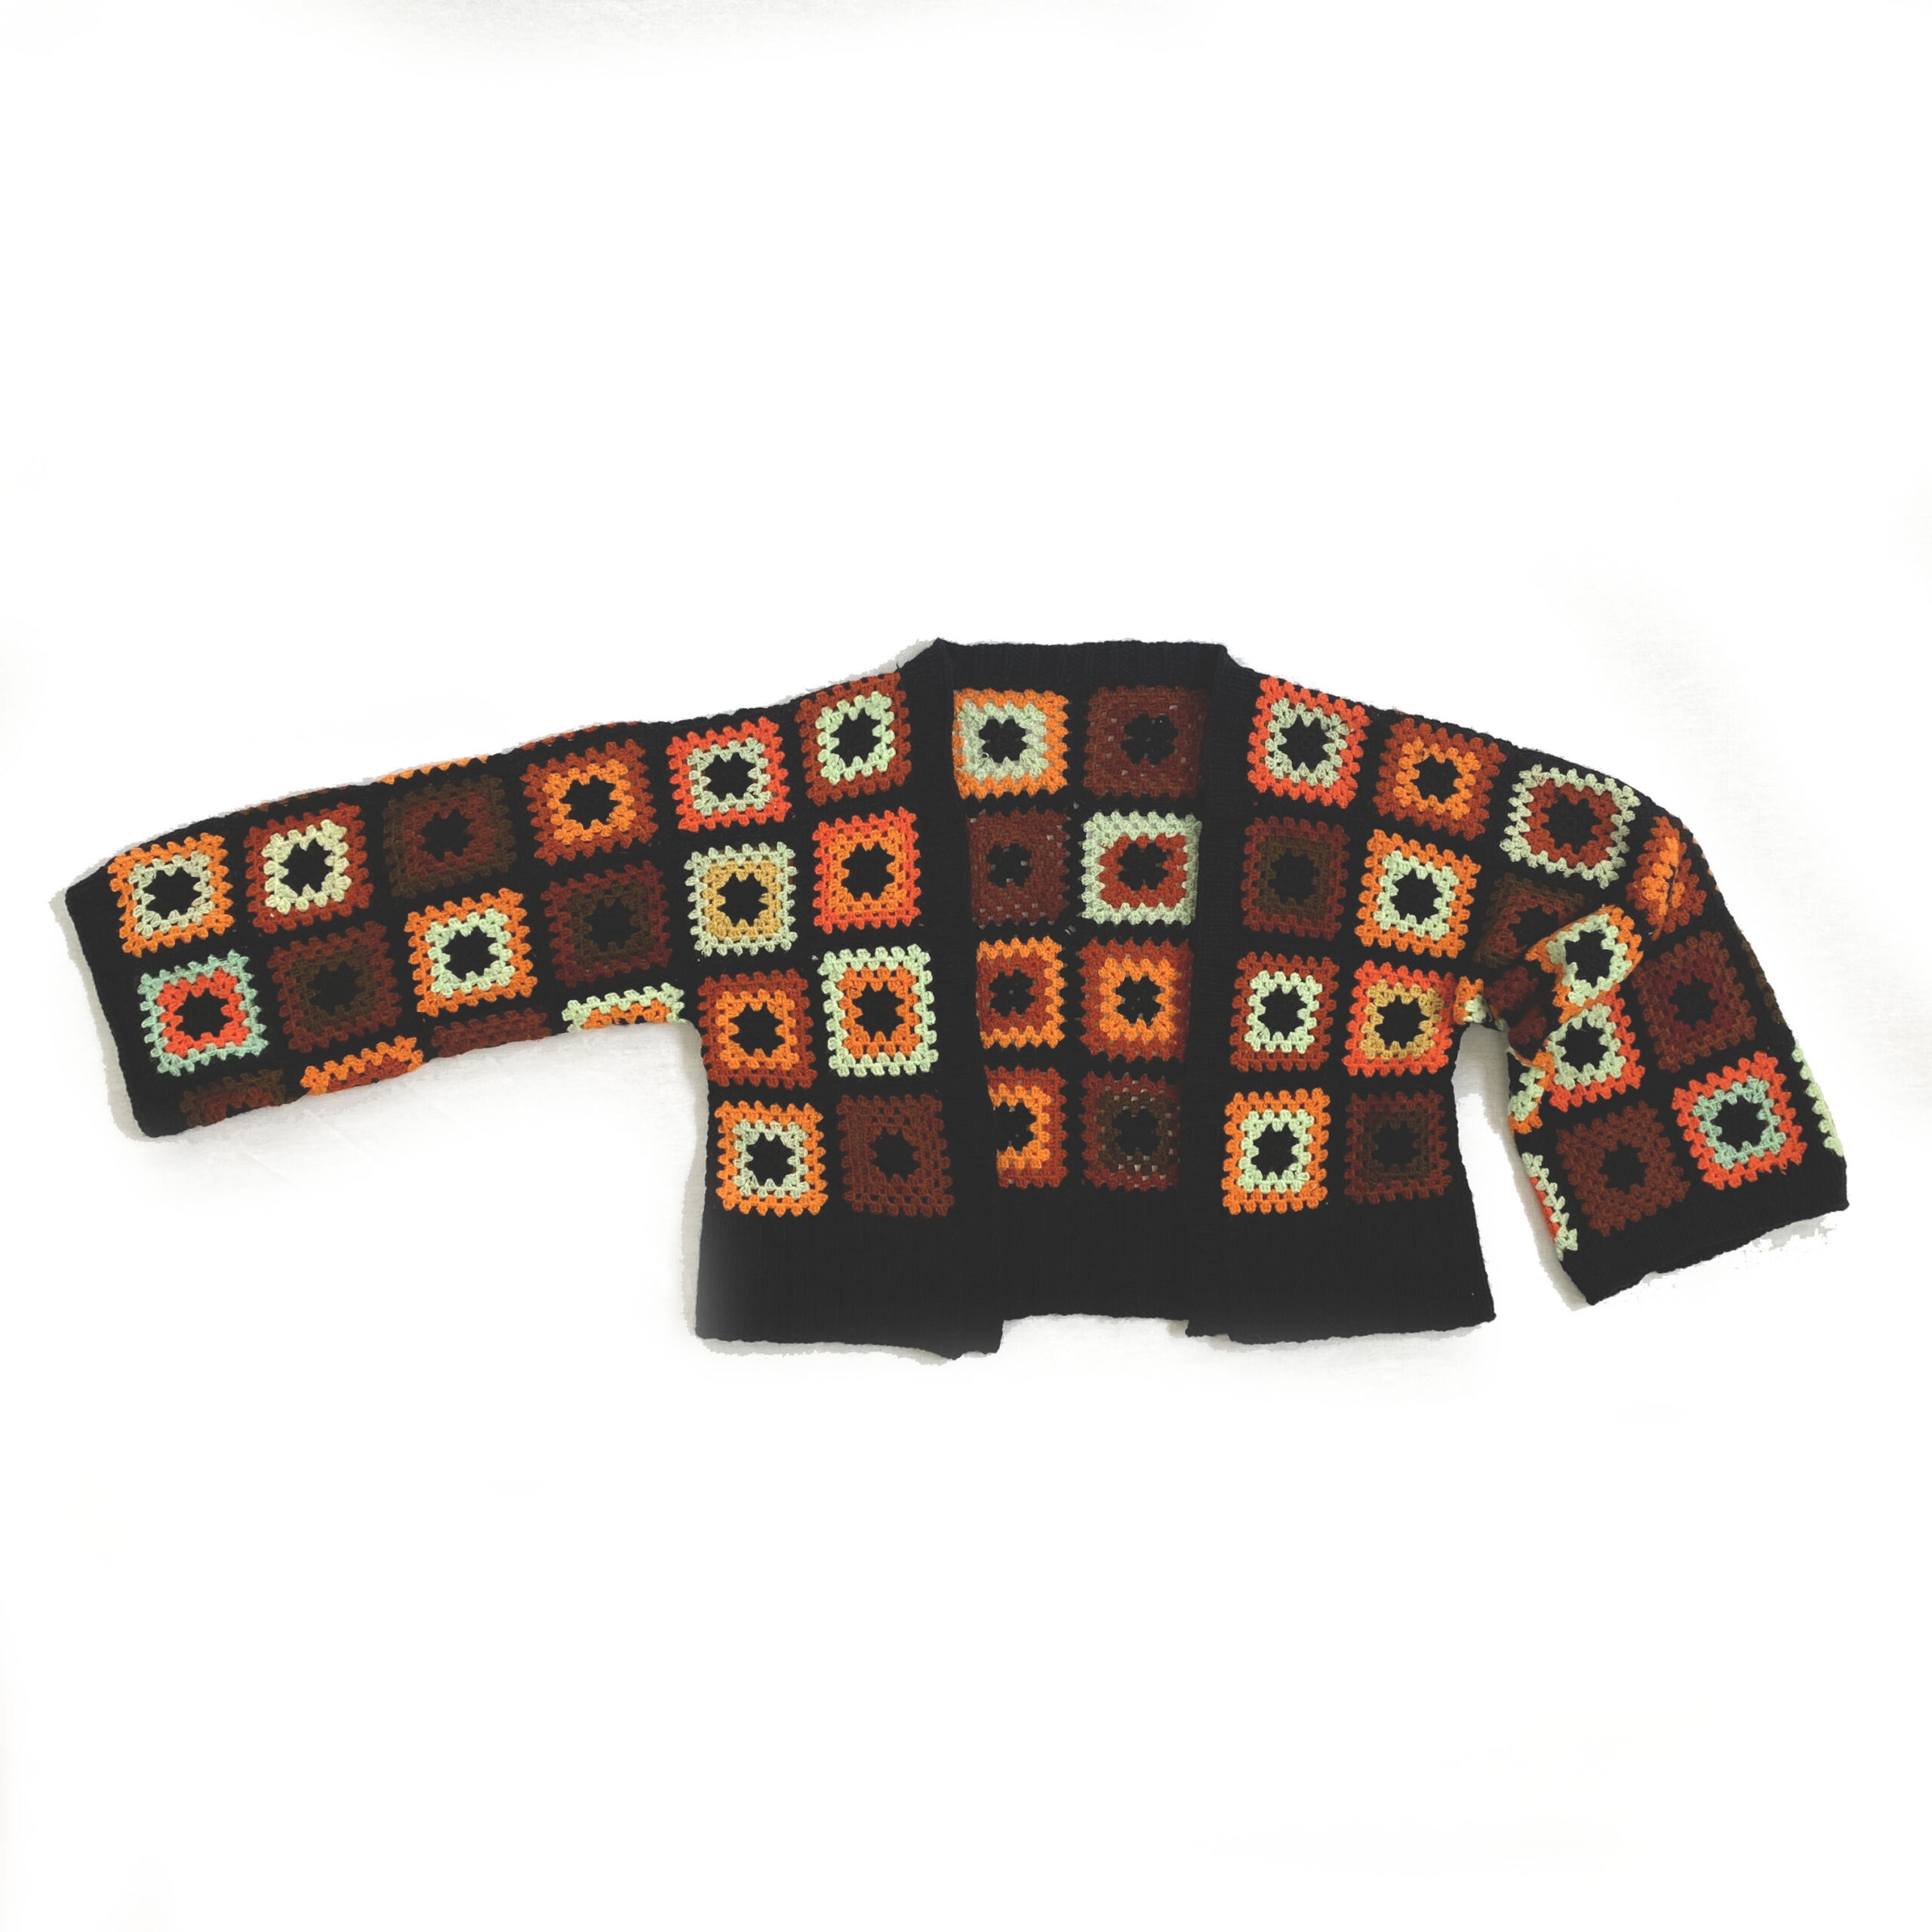
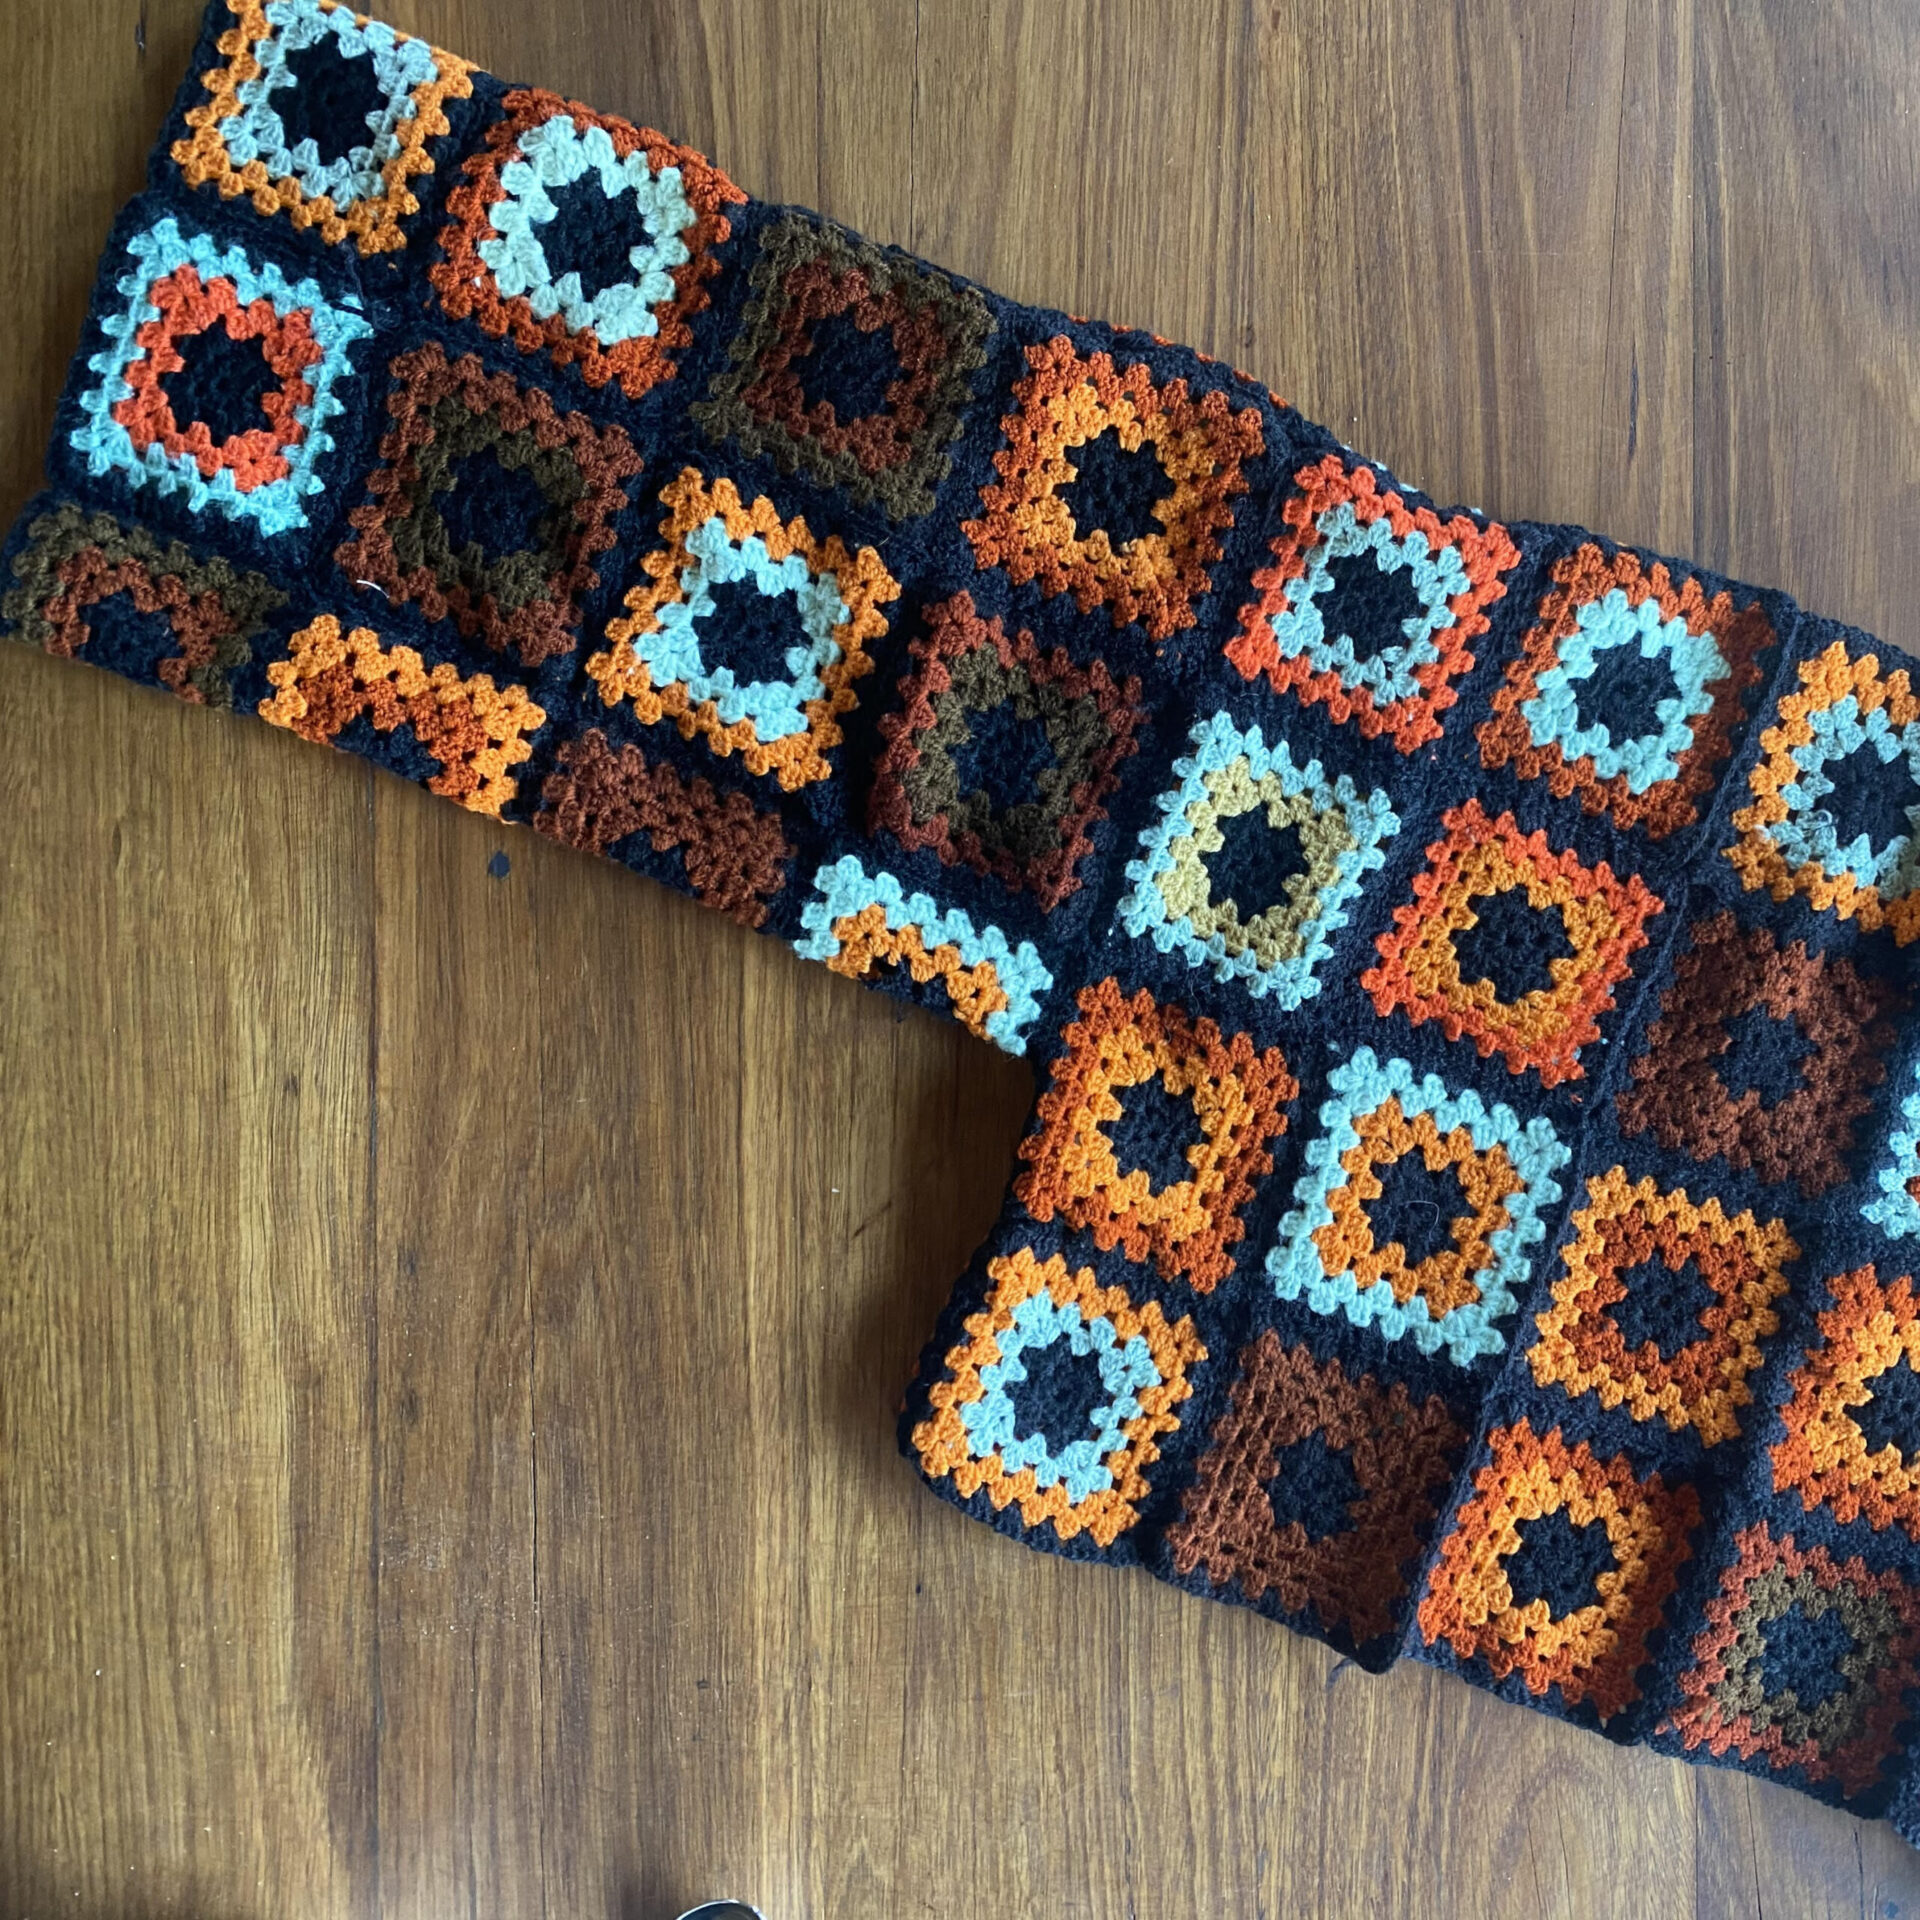
I began by separating all the individual squares. I sorted these into piles, a two dye pile and a keep as is pile. I used a rust colour dye on all the to dye squares and had mixed results; some were dark and didn’t have enough colour variation. I felt they didn’t go as well together in the overall garment and revised my long coat plan to a cropped jacket. I was able to add in enough overdyed squares for this to work and mixed them with my selection of undyed, which give great pops of colour.
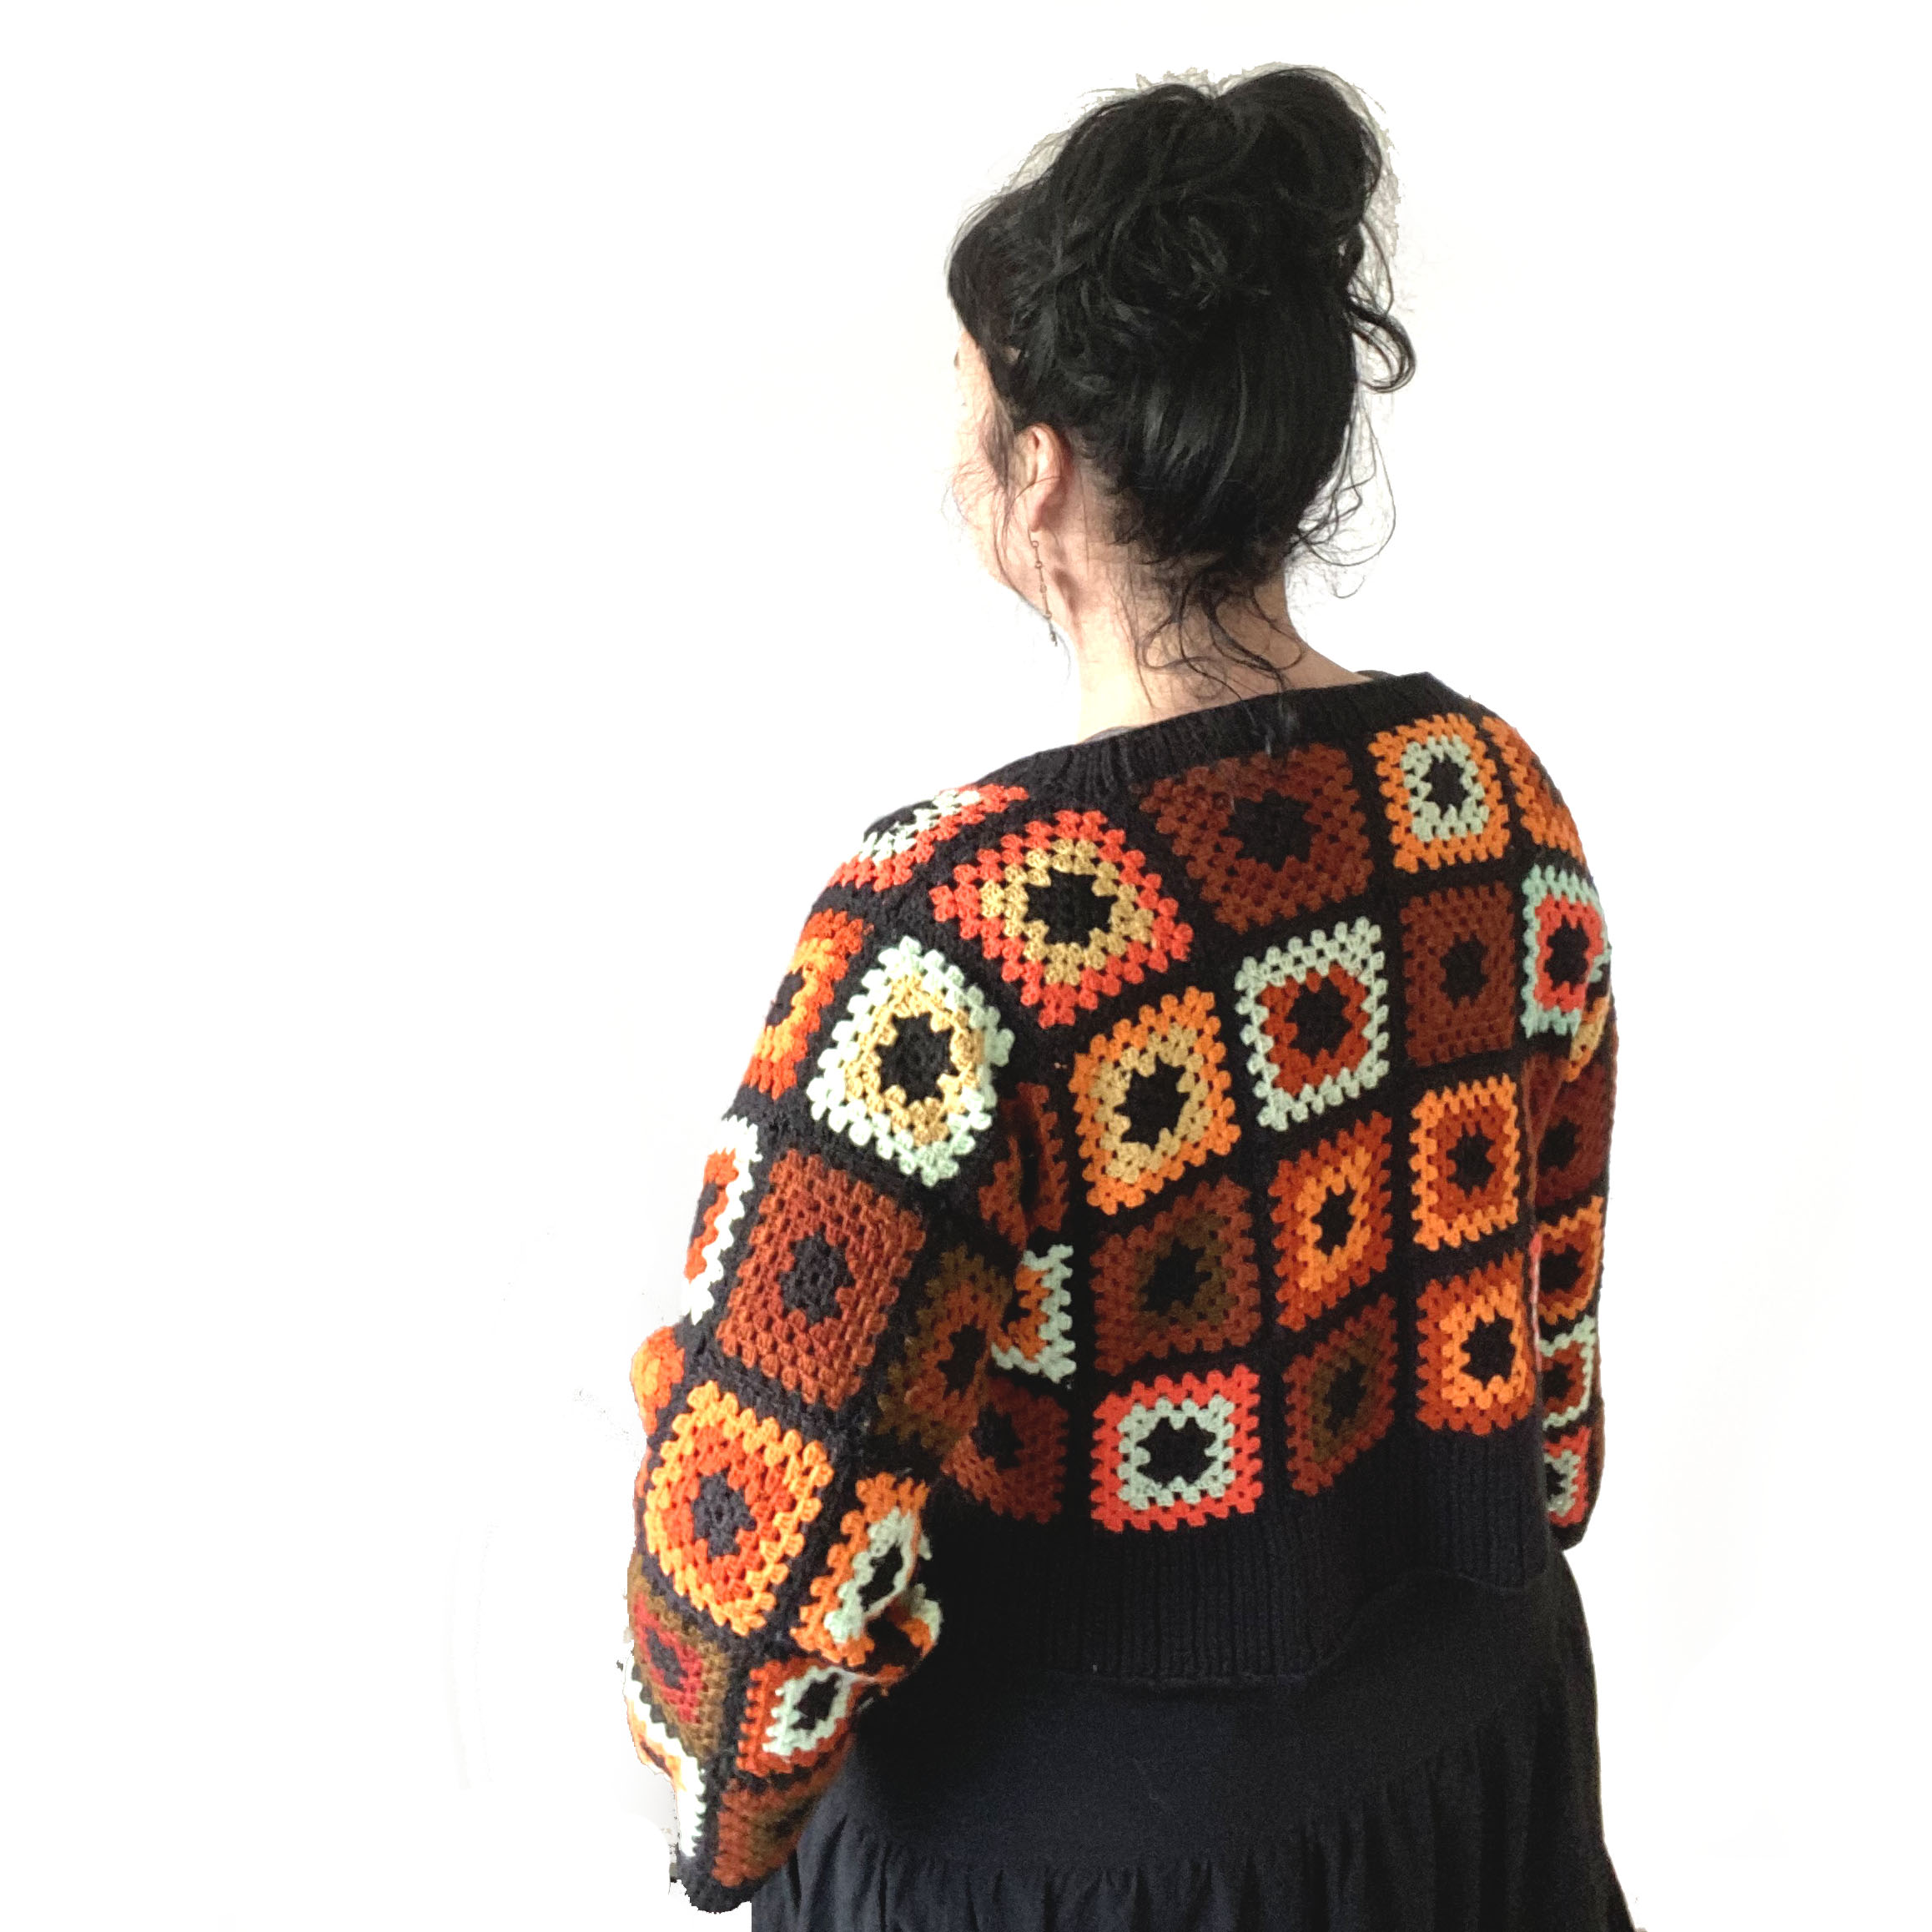
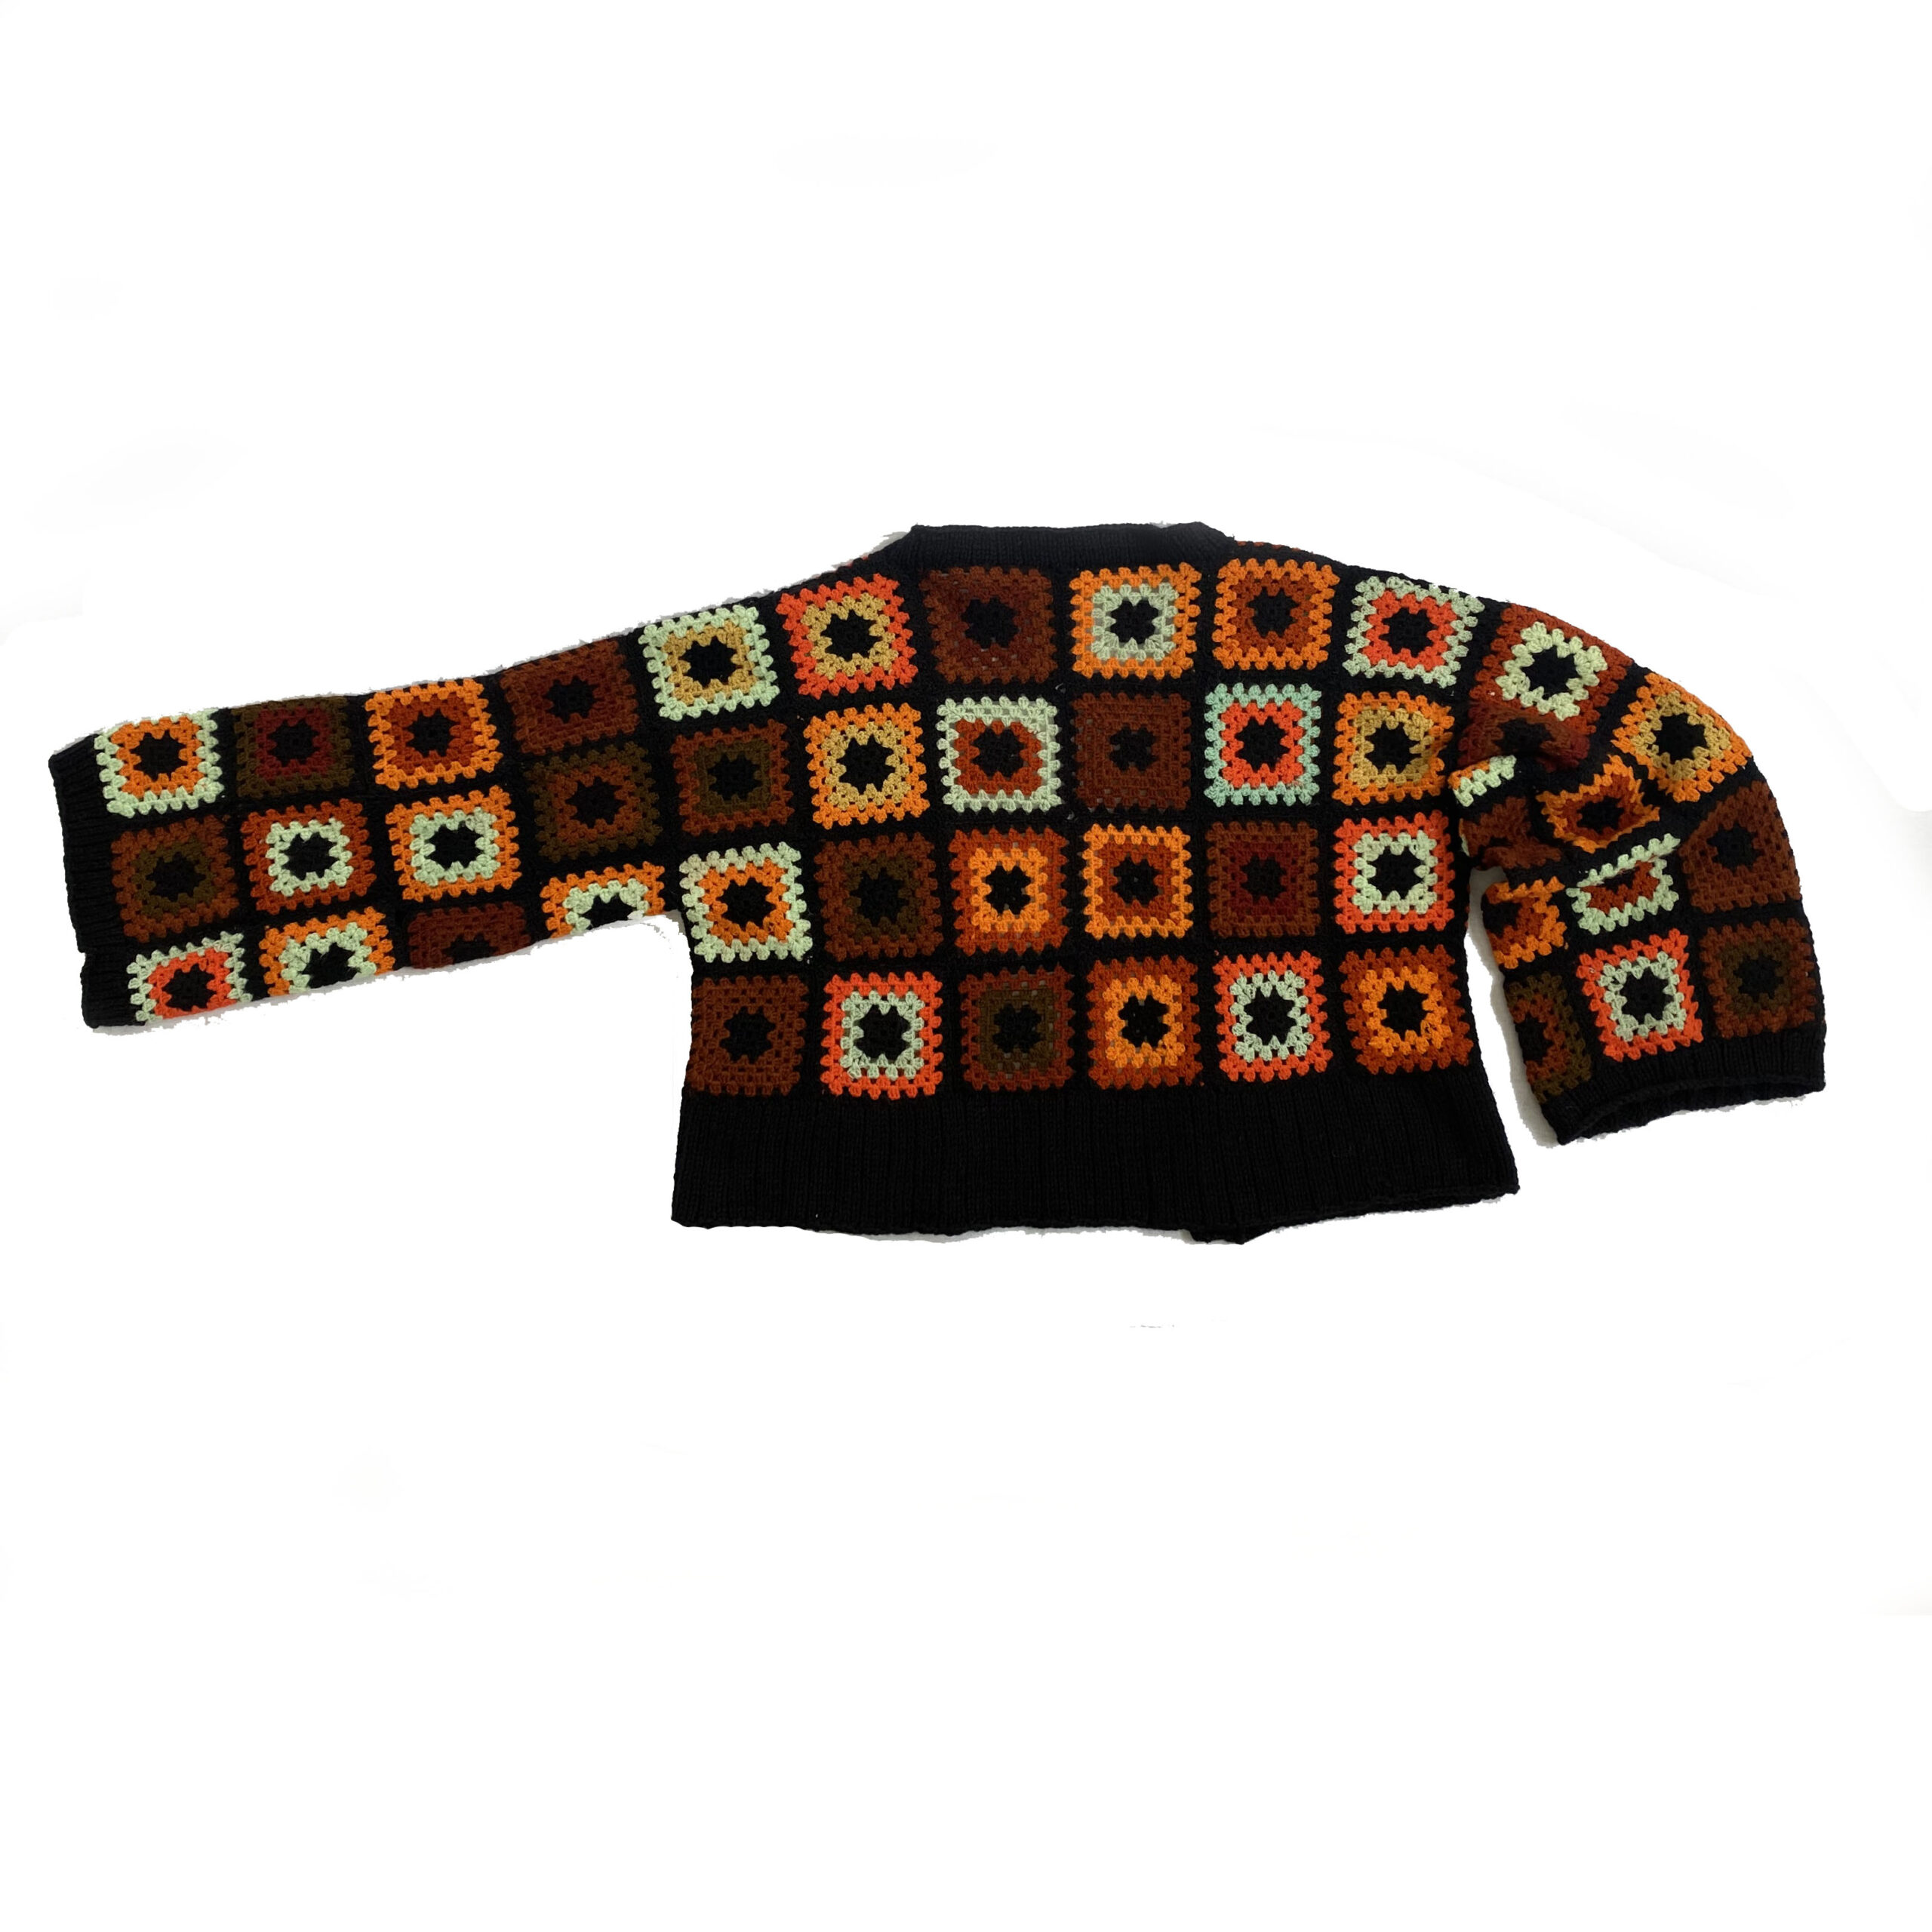
I set out a back rectangle, two sleeve rectangles and two front rectangles. The front and backs are 4 squares high, with 2 wide for each front and 6 for the back. The sleeves are 4 squares long with 5 around. I had decided to make this an open front jacket so less squares were used for the front.
Each square is approx 3.2″/8 cm square with quite a bit of variation!
Then I joined the squares by sewing them together with fingering weight black yarn – they are quite fine and a bit felted so it was tricky for me to crochet these together. I joined each rectangle and then joined the rectangles together.
Finally I got my knitting needles out. I decided to use worsted weight yarn for the knitted ribbing and this is a good match with the weight of the squares, even though they look to be made with fingering weight yarn, they have felted a little and crochet is thick.
I picked up hem stitches along the bottom edge and chose a simple k3, p1 ribbing (k1, p3 on the WS). I then picked up collar stitches and worked the same ribbing for the collar, followed by the cuffs for the sleeves.
Voila! A crochet jacket. It took me quite a bit of time over a 6 month period, I worked on it in between other projects and each step was fairly time consuming. However it is highly satisfying to re-purpose something and create something I don’t quite have the skills to make from scratch.
I was inspired by the beautiful crochet jacket in this issue of Pom-pom magazine, and particularly editor Meghan’s version she created using her stash of crochet squares. Recently I also came across this pattern by a local crochet designer. One day I’ll learn to crochet.